What is CSF
ConfigServer Firewall, also known as CSF, is a firewall configuration
script created to provide better security for your server while giving
you an advanced, easy-to-use interface for managing firewall settings.
CSF configures your server’s firewall to lock down public access to
services and only allows certain connections.
ConfigServer Firewall also comes with a service called Login Failure
Daemon, or LFD. LFD watches your user activity for excessive login
failures which are commonly seen during brute force attacks. If a large
number of login failures are seen coming from the same IP address, that
IP will immediately be temporarily blocked from all services on your
server. These IP blocks will automatically expire, however they can be
removed manually through the ConfigServer interface in WebHost Manager.
In addition to removing IPs, CSF also allows you to manually whitelist
or blacklist IPs in your firewall, as well as real-time monitoring for
automatic IP blocks in LFD.
CSF in Virtualizor
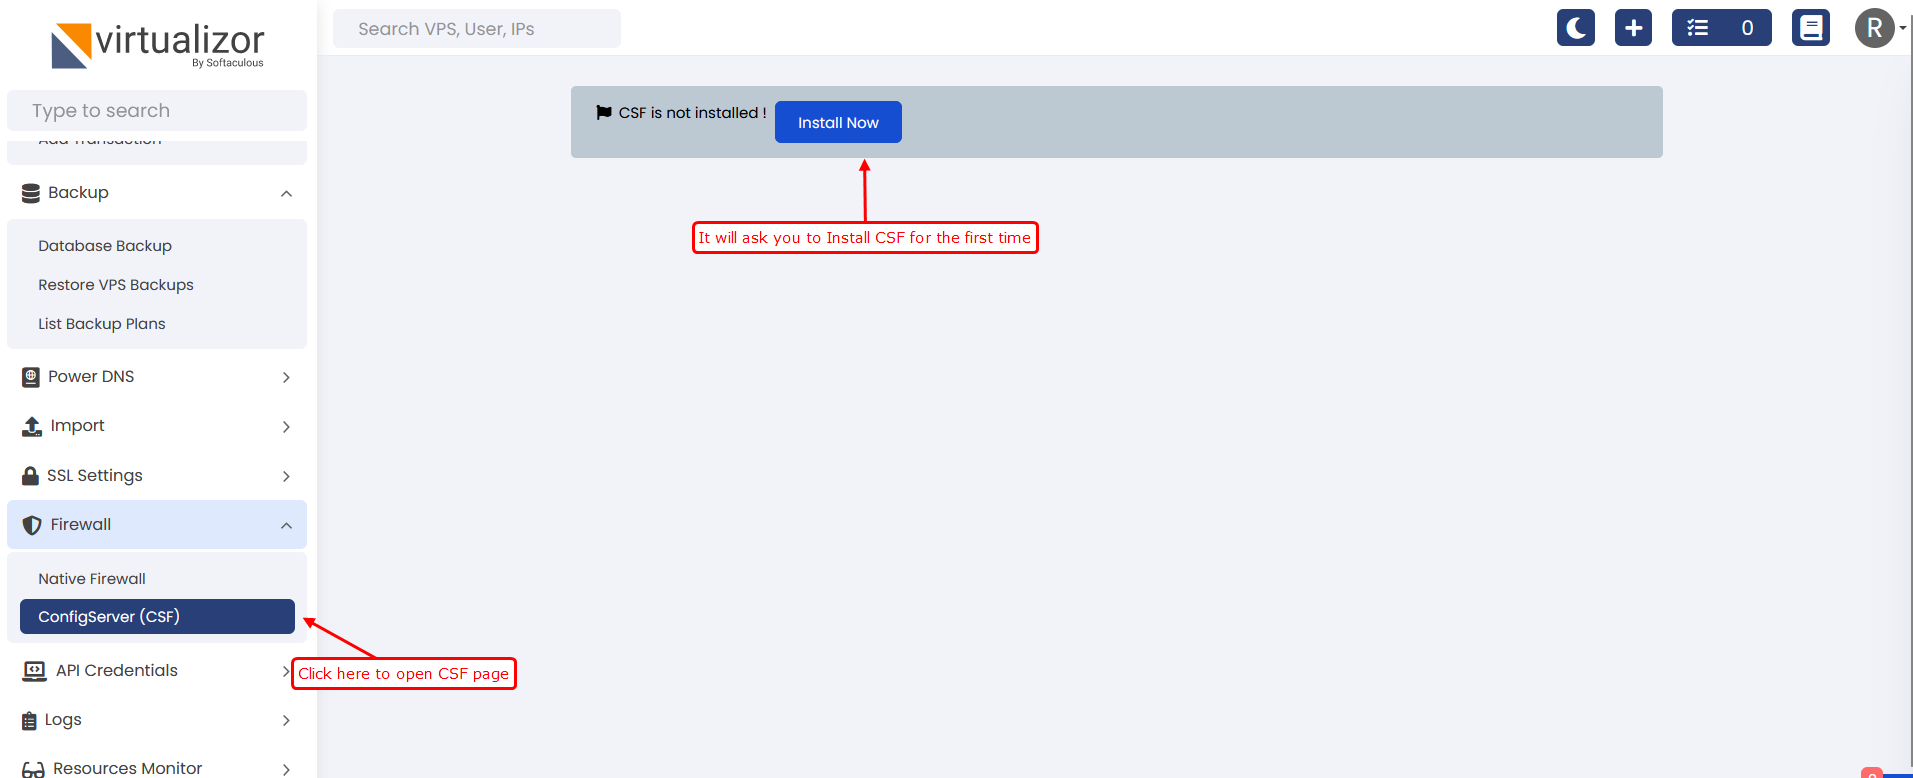
We have integrated ConfigServer and Firewall or CSF in Virtualizor to
ease up the security management for the user. To use CSF you will need a
Professional License. To get the Professional License you can click here
Once
you have the Professional license activated on your Virtualizor
installation, you can access the CSF from the Admin panel -> Firewall
-> ConfigServer (CSF)
Once the CSF installation is done. You will see the CSF UI as follows:

In case your VMs network is down after enabling CSF
On many Operating System, it uses nftables and due to that, CSF might block the VM network. To fix this issue you can use the following steps:
Add the following lines in csfpost.sh
iptables -P FORWARD ACCEPT
ip6tables -P FORWARD ACCEPT
Change permission of the file : csfpost.sh
Restart the CSF from the admin panel.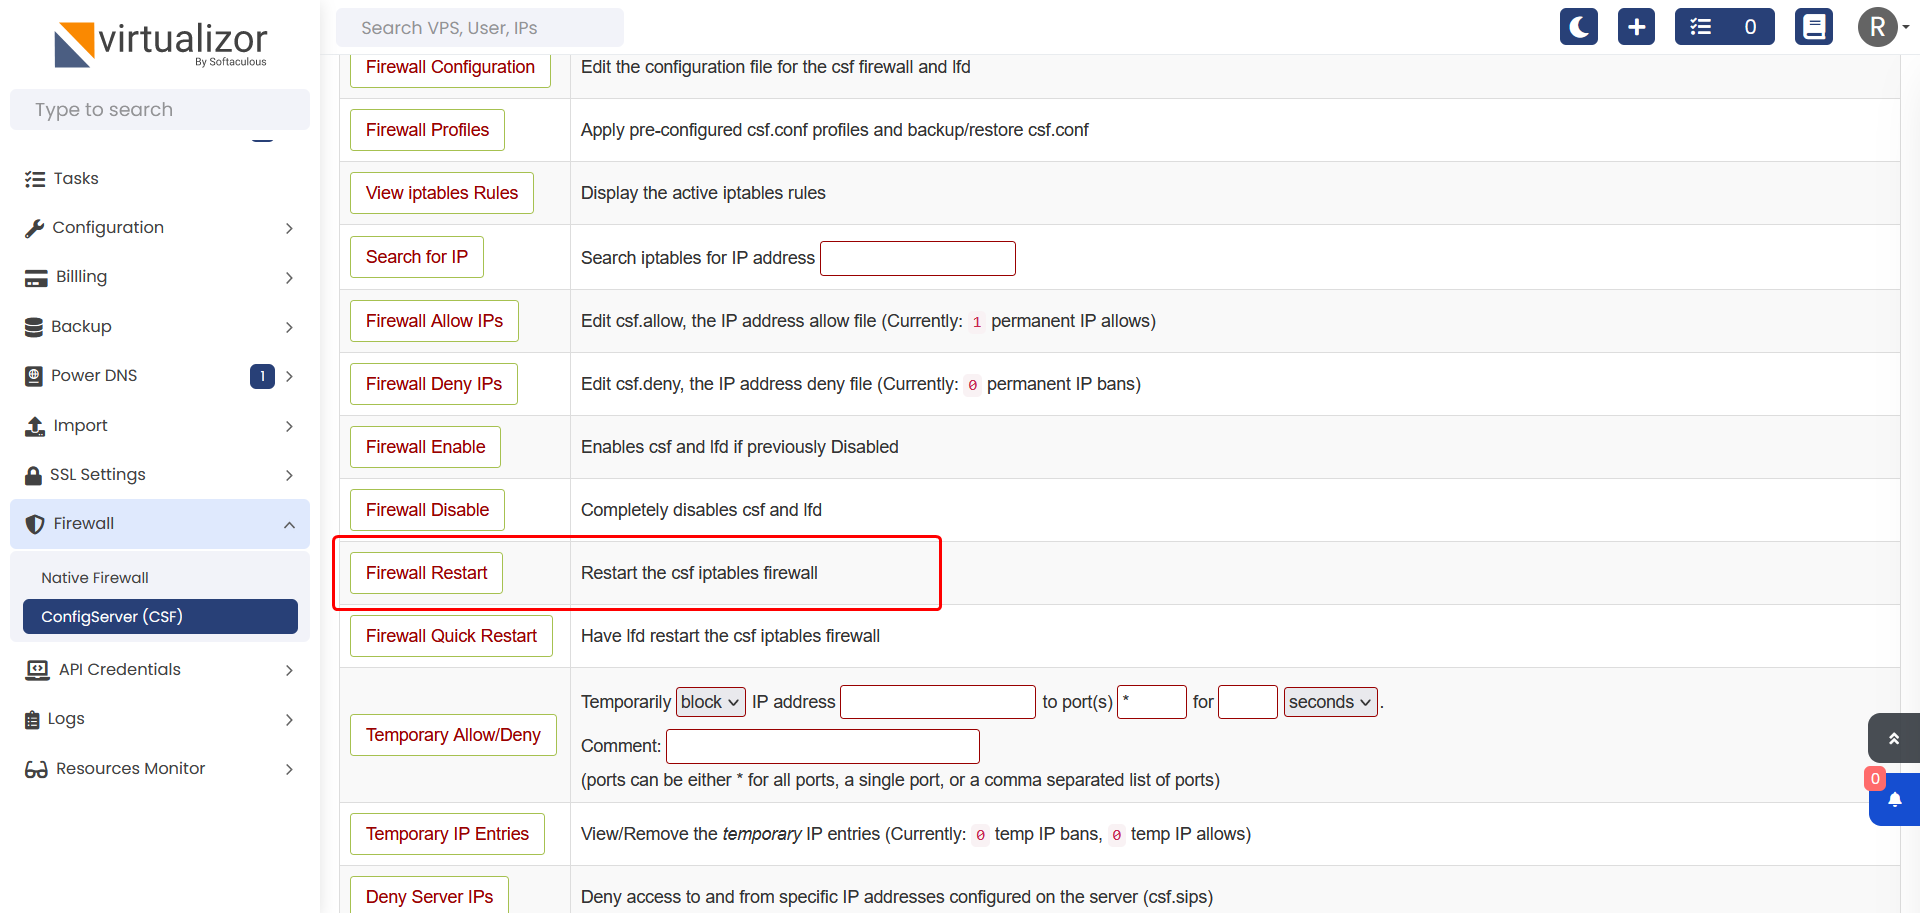
Once it is restarted you will see that the file has been executed.

After this your VMs network should work fine.