Overview
This guide will show you how to setup LDAP setting in Virtualizor.
Lightweight Directory Access Protocol (LDAP) is widely used to build central authentication servers. These servers contain usernames and passwords for all the users within a network. Any applications and services can connect to the LDAP server to authenticate and authorize users. Enabling LDAP within the master settings of Virtualizor adds a layer of security, allowing only validated users present in the LDAP server, with configured mail attributes, to access the Virtualizor panel.
NOTE: At the moment it is only supported for Admin panel login.
requirement
This setting is supported by virtualizor version : 3.1.7.8+
You need to have LDAP server set on your environment so that Virtualizor can do LDAP authentication.
How to enable LDAP
To enable LDAP Setting in Virtualizor, please follow the steps.
Go to Virtualizor Admin panel -> Configuration -> Master settings-> Security setting
Under Security settings, you will find a checkbox named "Enable LDAP Authentication"
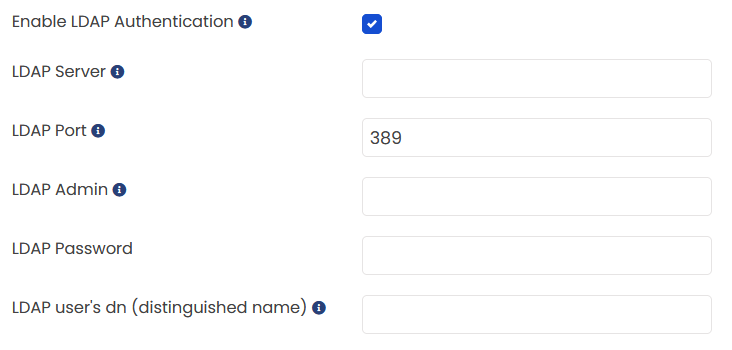
Once you enable the LDAP Authentication checkbox, further setting will be displayed to configure it.
LDAP Server : LDAP server URL should be put in this field. Admin login Authentication will be done with LDAP server
LDAP Port: LDAP Port where the server listens for the connection. Default is 389.
LDAP Admin: Enter the dn (distinguished name) of the LDAP admin user. eg :- cn=admin,dc=ldapserver,dc=local'
LDAP Password: The LDAP server password to connect to Admin account.
LDAP user's dn (distinguished name): Enter the search base from which users will be authenticated. eg :- ou=users,dc=ldapserver,dc=local
Please Note:
Entry of the user must be present on LDAP Server, and Mail attribute of the user must be set, or else users will not be able to login
Once the setting is saved. Your admin login will be authenticated from LDAP server.